Pages

Friday 9 November 2012

Such a long time

It has been ages since I have posted anything on here.  I have been busy doing stuff in RL, but I have found time to do a fair bit of crafting.

I have finally put he handle on this one.  I'm so pleased with how it turned out.


This started life as a pale wooden (pine I think) tea box that I bought on eBay.  I started off by staining it using Tea Dye distress stain.  Tea dye is my favourite colour in the distress range.  It gets used on almost every thing.

I then stamped it all over using vintage photo distress ink and a Tim Holtz script stamp.


I seen to have a thing about time lately.  Lots of cogs and clocks appearing on everything.  I love any thing that smacks of steampunk (NOT just sticking a cog on it) so I had a dig through my collection of steampunk charms and embellies.


I have added a few stamped clocks using brushed corduroy   The cogs and clocks where coloured using tea dye, vintage photo, aged mahogany and a bit of bronze acrylic paint.


A friend of mine gave me some stamped images.  This heart seemed to beg to go here.  It covered the seam of the box, so I had fun with a scalpel cutting it so that the box would still open.

I have another three projects on the go, so hopefully I will be posting again soon.

Happy crafting every one.

Sunday 9 September 2012

Diary of a wedding album

WARNING contains lots of photos and may be slow to load.

I have been commissioned to make a wedding mini album for a civil partnership.  In my eyes this is a wedding so that's what I will be calling it.  I haven't been given a budget, but I know the person who ordered it doesn't have much in the way of spare cash, so I won't be getting too extravagant with what I put in it.

I have decided that I will keep a diary in words and pictures of what I make.  The album is for Nick and Richard and the colours they have gone for are pink and lilac.  My first reaction "PANIC"  how do I make an album in those colours with out it turning out girly.  Then I started thinking.  I only do grunge these days.  I have nothing romantic or weddingy.  Time to go shopping.

I lucked out with the shopping.  There was a major craft show (lots of retailers) at Glow, Bluewater so off I trotted with my deposit clutched in my hand and a couple of friends to help with their opinions.


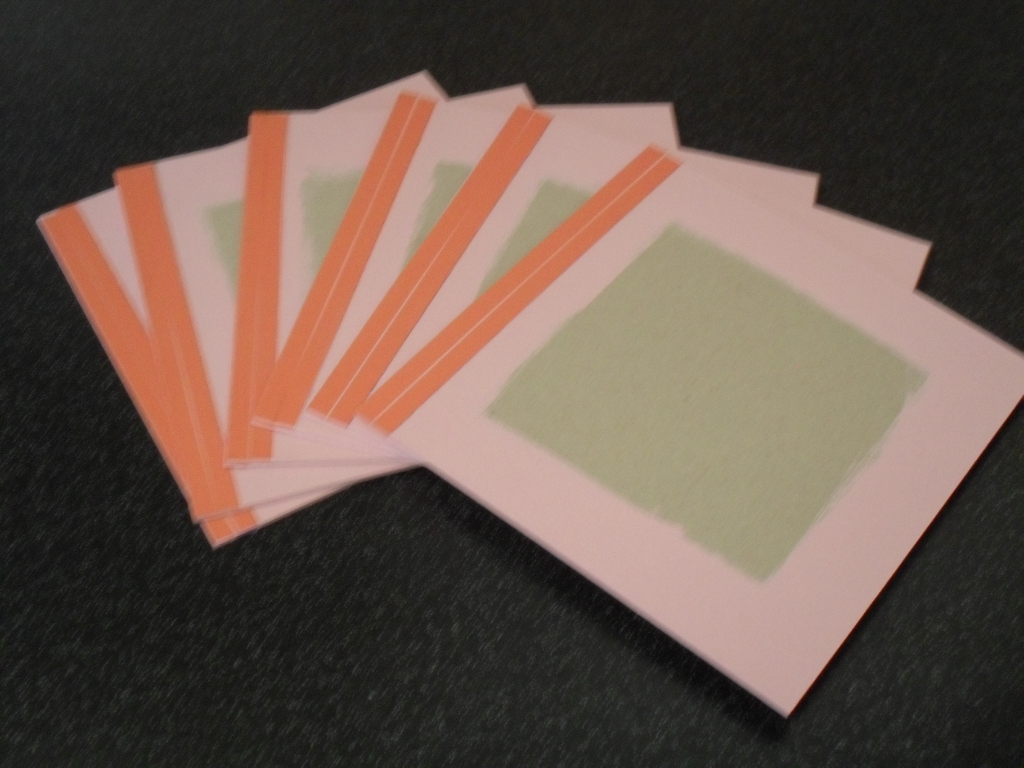
This is what I bought.  20 sheets of printer or embossed A4 cardstock, 20 sheets of lilac crush lightly textured cardsock and 10 sheets of liquid silver cardstock.  I also bought silver corner peel offs, lots of flat backed pearls and gems, 3 silver filigree hears and a few other silver charms.  I also bought 6 reels of red tape (hope that's enough), some stamps and some pink ribbon.

I have been asked to make an 8x8 inch album with 10 pages (sides) not including the front and back covers.

Step 1.
Have a cup of coffee while planning out the pages.  I actually did this before I went shopping so that I would have an idea of what I needed to buy.  That all went out of the window when I got to the show and couldn't find suitable 12x12 cardstock which I had used in my plans.   End result was 20 sheets of A4 in the hope that that will cover it.

Step 2
Lightly sand the edges of the chipboard if they are a bit rough.  I find that sometimes there are Little bits that need sanding off where the chipboard has been cut.


Step 3
Paint the edges and an inch or so around the rim of the chipboard.  I use ordinary emulsion for this or acrylic.


Having spent time getting everything coordinated and looking good, the last thing you need is bits of grey chipboard around the edges of your pages making it look bad.  Normally I do this using black paint, but today I have gone with candy pink to match the colours in the album.

That is a far as I have gotten so far.  I will be editing this post as I go along rather than adding new ones for continuity.

Back again.

I have realised that this is reading more like a tutorial than a diary so I will keep going in that style telling you if anything went wrong along the way.

Step 4
Measure .75 inches from the edge and lightly pencil a line.  This will be your guide when you are doing your binding.  You will need to do it on both sides of the chipboard being careful to make sure that you stick to one edge.  Do this on all of your pages.


Step 5
Next you will need to put Double sided sticky tape in the area between the line and the edge of the page.  I am using 9mm red tape  so I have used 2 strips per side.  Red tape is the strongest DS tape I have found to date.  Don't bother using a cheap tape for this bit or your binding will fall apart.  Believe me, I found this out the hard way and hot glue just didn't work.


Step 6
Now you need to make your binding.  I used 1 sheet of A4 lilac textured card for this as it will match with what I am using in the album.  I have cut my A4 sheet to just shy of 8inches wide.  This was a mistake.  It needed to be 8inches exactly, so I will have to see how it turns out at the end.  Next you need to cut your card so that you have 5 strips of 8x2 inch wide strips.  I have 6 pieces of chipboard to bind so 5 pieces of binding are needed.  Adjust the number to your requirements.

Because I am expecting my album to be bulky I will be making  a gusset so that it sits nicely when it is finished.  To do this I have scored at 0.75 inches and again at 1.25 inches and then folded.  See the picture below for how this will look


Step 7
Now for the tricky part.  Carefully line up your binding strip with the edge of your first page, firmly pressing down when you are happy with the positioning.   Carefully line up the second page and stick down so that you end up with 2 bound pages as you can see below.


As you can see from the next picture, you will have plenty of room to add embellishments and photos.


Step 8
Keep adding pages and binding until your whole album has been bound together.


Now it is time to make your pages and decorate with your embellies.  I always do my outer cover last.  this prevents it getting dirty or damaged while I do the rest.  One of the last things that will be done is the outer binding to cover up the spine.

Friday 31 August 2012

Yummy candy

Crafty Emblies is giving away some great candy at the end of September.  Take a look and dont miss out.

Friday 1 June 2012

Heart of diamonds

Here in England you can't escape the Queens diamond jubilee.  There are bunting and flags any where they can be stuck.  I wanted to avoid the red, white and blue that is covering everything right now and went for diamonds in a different way.


This started out as a box with a lid, but I didn't like the hinges or the way the lid fit, so I took them off.  After giving it a couple of coats of black paint I started gluing on the rhinestones.  I like the grain of the wood, so I haven't painted the inside of the box.    The ribbon that I added to the bottom edge is from my stash.  I'm always on the look out for ribbon and lace.

I will be entering my box for the following challenges:
Everybody Art - No cards
Anything Goes - Anniversaries - I have gone for a heart and diamonds to represent this
Creative Inspirations - Diamond - Lots of sparkle

Tuesday 22 May 2012

Rivited

I'm a big Andy Skinner fan.  I'm new to mixed media crafting and don't have much of a stash yet, so I am still working my way up to doing one of his workshops.

This box it heavily inspired by one that he has made.  It's no where near as good, but I enjoyed making it.


I started with a wooden box onto which I stuck a number of different textures and shapes and I then covered it with Idenden tape (yup, plumbers tape). This is a technique I adapted earlier this year having watched metal tape tutorials on Youtube. It isn't as thick as normal craft metal, but it is so versatile and cheap to work with.


I went for a grungy, dug it out of the basement look.  It's very easy to do.


All of the detailing is my favourite part of making these boxes.  I have used cogs both on top of the tape and underneath it.  I caught my eldest trying to turn the cogs, so I think i will try one with moving parts as soon as I figure out how.


I don't have a cog die yet so I am using build  a snow flake dies.  I love by bronze coloured cogs.  They are so easy to use.

I'm entering my box for the challenge over at The Craft Barn

Monday 9 April 2012

What to do....

I really haven't blogged this year.  The reason?  I have discovered altered art, metel art and mixed media art.

I really can't get enough of them.  I'm so frustrated right now, because I don't seem to be able to co.  me up with any viable card ideas and I can't afford to buy the things that I need to do my new art form justice.

I will be blogging again. I need to be able to record my journey through my new creations.

Thursday 12 January 2012

Golden Treasure

I'm so Excited.

I've been decorating heart shaped trinket boxes for a while, but this is the first chance I have had to decorate wooden boxes in new shapes and sizes,  My delivery came on Monday and I could wait to get stuck in.  Unfortunately, real life intruded and I have only been able to do a small amount each day.


This is how my box started out


I painted my Box with white acrylic, then roughly edged it with my gold Krylon leafing pen.  I have then stamped and inked with tea dye distress ink.  I had a fridge magnet that I wasn't overly fond of so i have taken the back off of it and removed the picture, created a new "face" for it and coloured it with my krylon pen.

To finish off I have used flowers, lace, stick on pearls, part of a broken necklace and some gems taken from an  old belt.  Lots of recycling on this one.


I can't wait to try another one of these.

I am entering this one for the following challenges:-
The Crazy Challenge - Lace and or  pearls
Fab n Funky - Recycle it
Everybody Art - Shabby
Crafty Creations - Something new
Creative Inspirations - Swirls and Pearls

Sunday 1 January 2012

Happy new year

To everyone  in blogland, I wish you a year of great new ideas and projects.  May good health and lots of love be with you all xxxx

Naomi Dawn
Related Posts Plugin for WordPress, Blogger...